Why Your HVAC Ductwork Needs Proper Insulation
Thinking about re-insulating your HVAC ducts? Learn the real benefits, when old insulation should be replaced, and what to expect during professional re-installation.
Why We Take Duct Insulation So Seriously
We recently got a call from a homeowner — let’s call him Jason — who was in the middle of a project at his house. He had already scheduled someone to remove the old insulation around his HVAC ductwork and wanted us to come in right after to reinstall new insulation.
Jason’s big questions were pretty simple, but very common:
- “Do I really need insulation on my ducts?”
- “What are the benefits — will I actually notice a difference?”
- “How do I know if the old insulation should just be replaced?”
- “What exactly happens during re-installation?”
We told Jason this kind of project is absolutely something we handle all the time, and we walked him through what to expect. If you’re wondering the same things, here’s the same explanation we gave him.
Why Your HVAC Ducts Need Proper Insulation
Any time conditioned air travels through unconditioned or semi-conditioned spaces — like attics, crawl spaces, garages, or basements — duct insulation becomes critical. Without it, you’re essentially paying to heat or cool those unused spaces instead of the rooms you live in.
We explained to Jason that duct insulation helps in a few key ways:
- Energy efficiency: Insulation reduces heat loss in winter and heat gain in summer, so your system doesn’t have to run as long to keep you comfortable.
- Comfort: Rooms at the far end of the duct runs are often the ones that feel too hot or too cold. Properly insulated ducts help even out those temperature swings.
- Condensation control: In cooling season, cold metal ducts running through a warm attic can sweat. Insulation helps prevent condensation that can damage materials around the ducts.
- Noise reduction: Insulation can slightly dampen airflow noise and vibration, especially in metal ducts.
When insulation is missing, damaged, or poorly installed, you often see higher energy bills, longer run times, and those “problem rooms” that never feel right.
Signs Your Duct Insulation Should Be Replaced
In Jason’s case, another contractor was already removing the old insulation, so we knew we’d be starting fresh. Many homeowners, though, call us first because they’re not sure whether their existing insulation is still doing its job.
Here are the main signs we look for to recommend replacement:
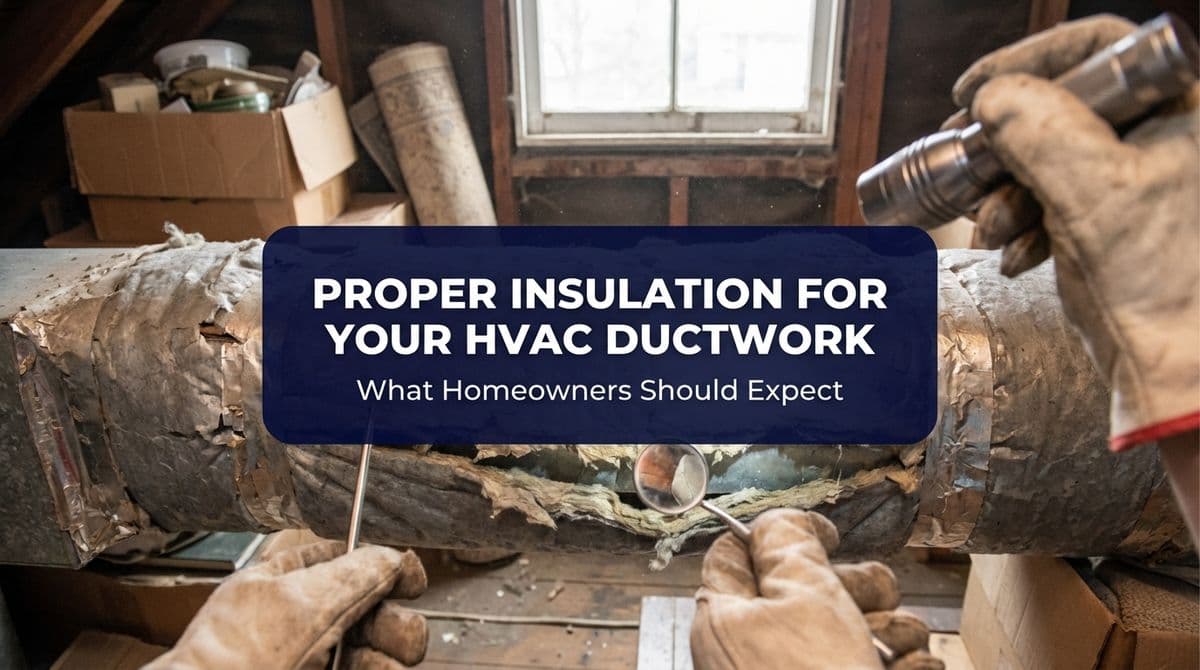
- Visible damage: Torn, compressed, or missing sections; insulation hanging off the duct; exposed metal in unconditioned spaces.
- Moisture or mold: Any insulation that’s been wet or shows signs of mold growth needs to be removed safely and replaced.
- Very old materials: Insulation that’s decades old is often under-rated compared with today’s standards, and sometimes contaminated with dust and debris.
- Rodent activity: Chewed or tunneled insulation, droppings, or nesting materials are strong reasons to remove and replace.
- Extreme hot/cold rooms: If certain rooms are uncomfortable even after recent system service, the issue may be uninsulated or poorly insulated ducts.
When we inspect a home, we focus on the ducts running through attics, crawl spaces, garages, and exterior chases. Those areas give us the clearest picture of whether re-insulation will help.
What Homeowners Should Expect During Re‑Installation
When Jason asked what would actually happen during his appointment, we walked him through our typical process step by step so he’d know exactly what to expect. Here’s how we usually handle a duct insulation re-installation:
1. On-site assessment
First, we walk the home with you, confirm access points (attic hatches, crawl space entries, garage areas), and verify which ducts need new insulation. We check for:
- Any remaining old insulation that needs to be removed
- Duct leaks, gaps, or loose connections
- Moisture issues or signs of pests
If we spot duct leaks, we’ll talk with you about sealing them. There’s no point in wrapping ducts nicely if a lot of air is escaping through unsealed joints.
2. Prep and safety
We protect your home as we move in and out — drop cloths, shoe covers, and careful ladder placement where needed. In attics or tight spaces, we make sure electrical wiring and other systems are identified and avoided.
3. Duct sealing (if needed)
Before insulation goes on, we typically seal accessible joints and seams with mastic or approved tape. This step greatly improves overall system efficiency and comfort.
4. Installing new insulation
Once the ducts are ready, we install new insulation with the appropriate R-value for your area and installation conditions. During this step, we:
- Cut insulation to the correct length, avoiding gaps or overly tight wraps
- Secure it at the seams and supports so it won’t sag or separate over time
- Keep labels and access points (like dampers or filter locations) visible where possible
We explained to Jason that most of the work happens in those out-of-the-way spaces — attics and crawl spaces — but our crew will keep him updated on progress as we go.
5. Final check and homeowner walkthrough
When the insulation is in place, we do a final check for coverage, securement, and any potential issues. Then we walk you through what we completed, point out any areas we want you to monitor (like past moisture spots), and answer questions about maintenance or future upgrades.
How to Prepare Your Home for Duct Insulation Work
To help the process go smoothly, we suggested a few simple steps Jason could take before our technician arrived. The same tips apply if you’re planning a re-insulation project:
- Clear access points: Move items away from attic hatches, crawl space entries, and around the indoor unit if it’s in a closet or garage.
- Secure pets: Keep pets in a separate area so doors can be opened and closed freely.
- Plan timing: For most homes, re-insulating accessible ducts can be done in a single visit, but larger or more complex systems may take longer.
- Ask about permits and code: We always follow local code and best practices; if you have questions, ask ahead of time so we can address them.
Is It Time to Re‑Insulate Your Ducts?
If your duct insulation is being removed like Jason’s, or you’re seeing signs of damage, moisture, or uneven comfort in your home, it’s worth having a professional take a look. Properly insulated and sealed ducts can make a noticeable difference in comfort and energy bills.
We’re always happy to come out, assess your ductwork, and let you know whether new insulation will help — and what the project would look like in your particular home.